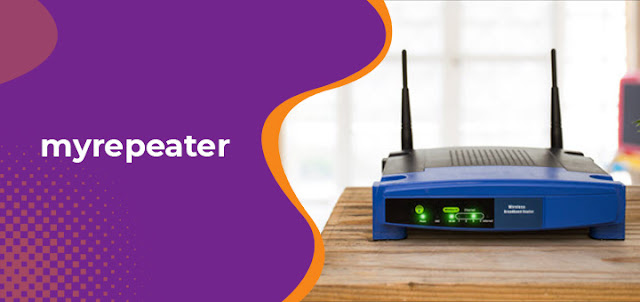
Basic Steps to Setup Wireless repeater By Using myrepeater
If your WiFi network is not working properly then it is very annoying. In that case, you need a wireless repeater. Wireless-n-repeater setup provides you with a high-speed internet connection and eliminates the WiFi dead zone. You can easily set up your wireless repeater by using myrepeater. When you are configuring your wireless repeater for the first time then this website is used to access the login page of the wireless repeater. You can set up, manage, and control the WiFi repeater set up with the myrepeater.net web address. Without taking much of your time, let’s get started with the setup of the wireless repeater.
Simple steps to set up a wireless repeater through the web address method
Go through the below steps to set up your wireless repeater through a web browser method:
Step 1: First of all, place the repeater and the router in the same room. Now, plug your repeater into the wall socket and then turn it on.
Step 2: Now, you need to connect the system to the router in which you can to complete the setup of the repeater.
Step 3: After that launch a web browser of your choice on your system. To avoid any error, Google Chrome is the most preferred web browser.
Step 4: Next, enter the web address “my repeater” in the address bar and press the enter button.
Step 5: Enter the default username and password and then click on the login button. You can find the default username and password on the box of the repeater or at the backside of the repeater.
Step 6: Then, you will be redirected to the setup page, where you can configure the settings as per your requirements. You can change the password, set up the bandwidth, etc.
Step 7: Finally, the setup of the repeater is complete. Now, you can disconnect the repeater and place it at your desired location where the WiFi signals are weak. Place our repeater halfway between the router and the WiFi dead spots.

Simple steps to set up a repeater through the WPS button
If your router supports the WPS button then you can use this method to set up myrepeater.net. Here are the instructions to set up myrepeater.net through the WPS button:
Step 1: First of all, place your repeater and home router in the same room and then connect it to the power outlet.
Step 2: Now, press and hold the WPS button on the repeater for 10-15 seconds and wait for a LED light.
Step 3: After that, press the WPS button on the home router and hold it for 10-15 seconds.
Step 4: A solid green light on the repeater and router indicates that a secure connection is established.
Step 5: Next, go to the web browser, enter “my repeater” in the address bar and press the enter button.
Step 6: Then, enter the default login credentials in the login page and click on the login button.
Step 7: Now, you can make the changes as per your requirements.
Step 8: Finally, you can disconnect your repeater and connect it to a new location.
Hopefully, by following the above steps you can easily complete the setup of the wireless repeater by using myrepeater. Still, if you are facing any issues then feel free to contact us.


Comments
Post a Comment